How to Level Your Yard for a Shed: Step-by-Step Guide
Copy Link
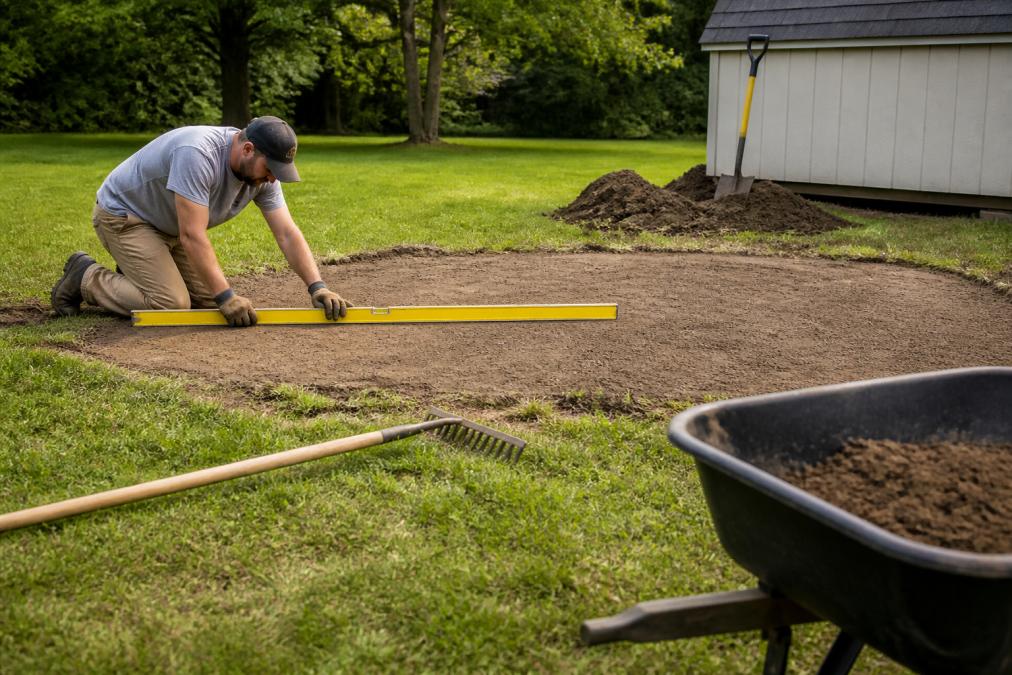
Table of Contents
- Why Leveling Your Yard for a Shed Matters
- Tools and Materials You’ll Need
- Step-by-Step Process to Level Your Yard for a Shed
- Best Shed Base Materials for Your Foundation
- How to Build a Level Gravel Pad for a Shed
- Shed Foundation Requirements in Chester County
- Common Mistakes to Avoid When Leveling Your Yard
- Handling Challenging Yard Conditions
Last Updated: August 30, 2026
Why Leveling Your Yard for a Shed Matters
A level foundation is essential when installing a shed. Uneven terrain creates structural stress, water pooling, accelerated deterioration, and doors that won’t close properly. Proper site preparation takes just a weekend or two and prevents thousands in repairs down the road.
This guide walks you through leveling your yard for a shed, from initial assessment to final grade check, covering tools, methodology, and common challenges like slopes and rocky soil.
Tools and Materials You’ll Need
Measurement and marking tools:
- 4-foot or 6-foot level
- 100-foot measuring tape or string line
- Wooden stakes and rubber mallet
- Chalk or spray paint for marking
Excavation and grading tools:
- Shovel (round-point for digging, square-point for moving soil)
- Wheelbarrow
- Mattock or pickaxe (for compacted soil or rocky areas)
- Rake for smoothing and spreading soil
Compaction equipment:
- Hand tamper or plate compactor (rent if needed)
- For larger areas, a walk-behind plate compactor saves significant effort
Safety and cleanup:
- Work gloves and steel-toed boots
- Safety glasses
- Trash bags for debris removal
- Landscape fabric (if building a gravel pad)
Optional but helpful:
- Laser level (more precise for larger sheds)
- Soil compaction meter (confirms proper compaction)
Renting a plate compactor for a weekend costs less than expected and saves substantial physical effort.
Step-by-Step Process to Level Your Yard for a Shed
Step 1: Assess Your Current Yard Grade
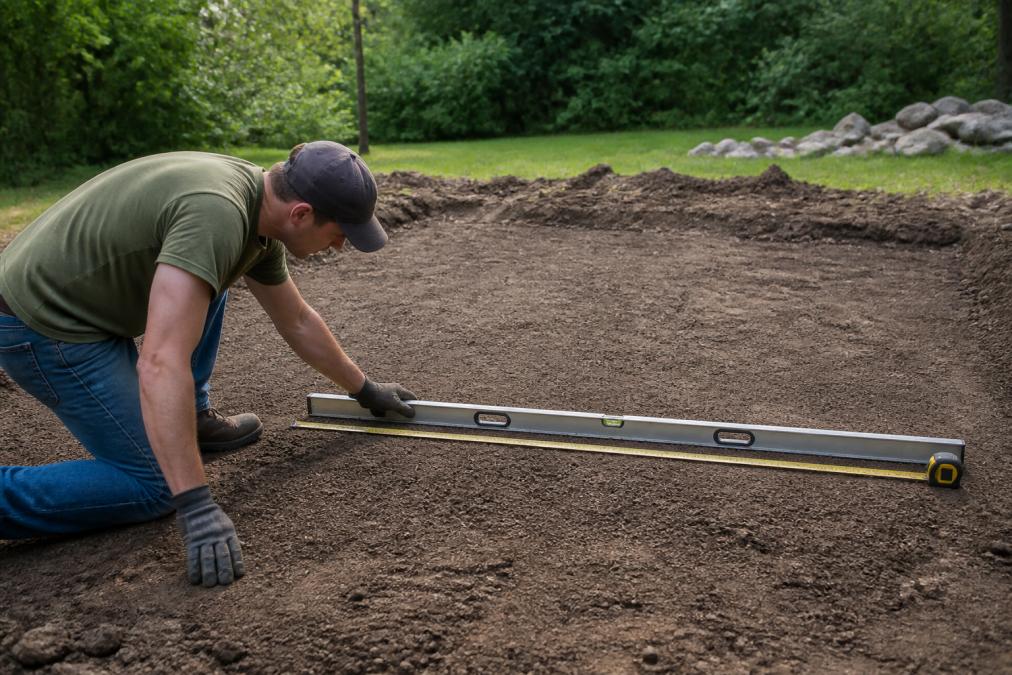
Use your 4-foot level and a long straight board (a 2×4 works well) to check the slope across your planned shed location. Place the board on the ground and set the level on top. Measure how much the grade drops across the shed’s length and width. A drop of 1 inch over 10 feet is manageable; anything steeper requires more aggressive grading (fema.gov).
Mark high and low spots with stakes. Also note obstacles: large rocks, tree roots, drainage issues, or soft spots. Rocky soil means you’ll need a mattock. Wet soil may require drainage improvement before grading.
Step 2: Mark Out Your Shed Location
Define the exact footprint where your shed will sit using stakes and string, making it at least 12 inches larger than the shed’s actual dimensions on all sides. This buffer ensures proper drainage around the structure.
Check local regulations in your area. West Chester and surrounding townships may have setback requirements from property lines. A quick call to your township office clarifies whether you need a permit and what site preparation standards apply.
Step 3: Remove Vegetation and Debris
Clear the area completely. Remove grass, weeds, roots, and debris. Don’t just mow it short; dig out the sod and roots. Organic material left in place decomposes over time, creating soft spots that cause settling.
For significant vegetation, a sod cutter (available for rent) removes grass and roots efficiently. For smaller areas, a sharp spade works fine.
Step 4: Excavate High Spots and Fill Low Areas
Remove soil from high spots and move it to low areas. The goal is a level surface across your entire shed footprint. Compact soil as you go rather than waiting until the end.
Work in sections, grading one quadrant, compacting it, then moving to the next. You may need to add additional soil if low areas are significantly below grade. Many landscaping suppliers in the West Chester area sell topsoil and fill dirt by the yard, delivered if needed.
Step 5: Compact the Soil
Compaction is critical. Loose soil settles under the shed’s weight, creating an uneven surface and structural stress.
Use a hand tamper for small areas or a plate compactor for larger ones. Make multiple passes, overlapping each by half. The soil should feel firm and resist further compression. If unsure, rent a soil compaction meter to verify adequate density.
Step 6: Final Grade Check
Once compaction is complete, check the entire area with your 4-foot level and straight board in multiple directions. The surface should be level within 1/4 inch over 10 feet. Address any remaining high or low spots with a rake and minor soil adjustments.
Best Shed Base Materials for Your Foundation
Once your yard is level, choose a base material to protect your shed from moisture and settling.
Gravel: Crushed stone or pea gravel provides drainage and is affordable. A 4- to 6-inch layer compacted over landscape fabric is standard. Gravel requires occasional maintenance as it shifts over time.
Concrete pad: A poured concrete foundation is permanent and requires minimal maintenance. It costs more upfront but lasts decades and prevents moisture wicking and settling issues.
Recycled asphalt: Similar to gravel but denser and more stable. It compacts better and lasts longer than loose gravel.
Composite blocks or pavers: Plastic or recycled composite blocks create a level surface and allow airflow underneath. They’re reusable if you move the shed.
For most homeowners in the West Chester region, a compacted gravel pad with landscape fabric offers the right balance of cost and durability. If the shed will house equipment or you’re concerned about moisture, concrete is worth the additional investment.
How to Build a Level Gravel Pad for a Shed
A gravel pad is the most common foundation for sheds. It’s affordable, provides drainage, and is simple to build if your yard is already level.
Materials needed:
- Landscape fabric (4-6 mil thickness)
- Crushed stone or pea gravel (4-6 inches depth)
- Landscape stakes
Steps:
-
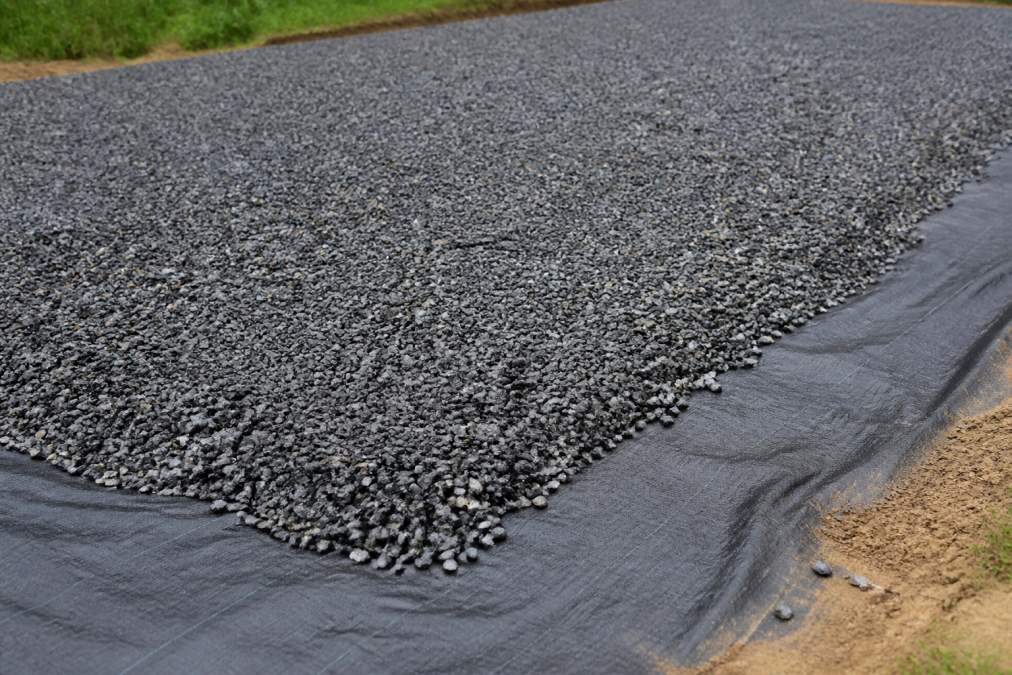
Lay landscape fabric: After your yard is leveled and compacted, unroll landscape fabric across the entire shed footprint. Overlap seams by at least 12 inches to prevent gravel from mixing with soil.
-
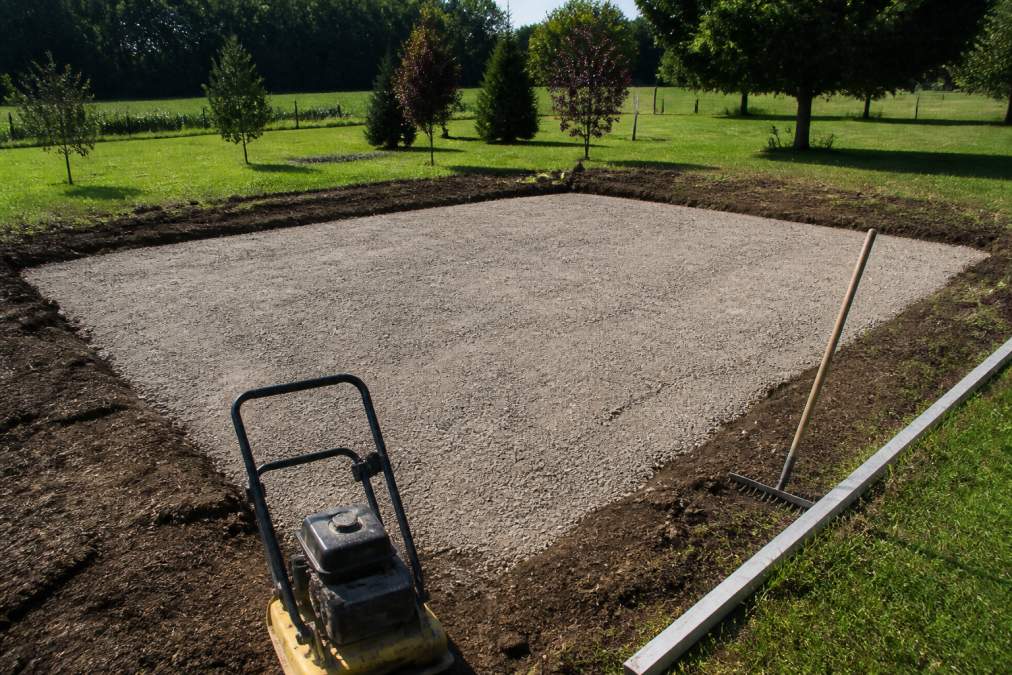
Add gravel: Spread crushed stone or pea gravel evenly to a depth of 4-6 inches. Use a rake to level it. For a shed under 10×12 feet, you’ll typically need 1-2 cubic yards.
-
Compact the gravel: Use a hand tamper or plate compactor to compress the gravel in multiple passes until the surface is firm.
-
Check for level: Use your level and straight board one final time. The gravel surface should be level within 1/4 inch.
-
Install the shed: Once your gravel pad is complete and compacted, you’re ready for shed installation. Riehl Structures can advise whether your gravel base meets their specifications.
Shed Foundation Requirements in Chester County
Contact your township office before beginning any grading work to confirm local requirements.
Common requirements include:
- Setback distances: Most townships require sheds to be set back a minimum distance from property lines (typically 5-10 feet).
- Foundation type: Some areas specify concrete pads or gravel bases; others allow ground placement if properly graded.
- Drainage: Regulations often require grading to direct water away from the shed and neighboring properties.
- Permits: Many townships require a zoning permit before shed installation, typically costing under $100 and taking 1-2 weeks to process.
According to Pennsylvania’s local government code, townships have authority over zoning and building standards. Riehl Structures has 30+ years of experience working with local regulations across the Greater Philadelphia region and can guide you on whether your planned site meets local requirements.
Call your township office before you start digging. A 10-minute conversation prevents costly mistakes and ensures your shed meets local standards.
Common Mistakes to Avoid When Leveling Your Yard
Not compacting thoroughly: Loose soil settles under weight, creating an uneven surface months after installation. Compact in multiple passes.
Ignoring drainage: Grading that slopes toward the shed causes water to pool around the foundation. Always slope away from the structure, even 1/8 inch per foot is enough.
Leaving organic material in place: Grass, roots, and debris decompose over time, creating voids. Remove everything down to bare soil.
Assuming "close enough" is level: A 1-inch difference over 10 feet creates structural stress over time. Use a level and verify final grade.
Not accounting for soil type: Clay soil compacts differently than sandy soil. Add soil from a reputable landscape supplier for predictable results.
Skipping the gravel pad: Ground contact invites moisture and settling. Even a simple gravel pad with landscape fabric makes a dramatic difference in longevity.
Installing a shed on uncompacted soil is the single most common cause of foundation failure. Settling begins within months, doors won’t close, and repairs become expensive.
Handling Challenging Yard Conditions
Steep slopes: If your yard slopes more than 1 inch per foot, terrace the area or build a raised foundation on concrete blocks or posts.
Rocky or clay soil: Use a mattock or pickaxe to break up rocky soil. Wait for dry weather before grading clay soil; wet clay doesn’t compact properly.
Poor drainage or wet soil: Improve drainage before grading. Wet soil won’t compact properly and settles unpredictably.
Tree roots: Work around them carefully using a mattock to cut smaller roots. Avoid cutting major roots to prevent tree damage. If roots are extensive, consider a different location or a raised foundation.
Existing structures or utilities: Call 811 before you dig. This free service marks underground utilities so you don’t hit them.
For complex conditions, many homeowners benefit from consulting a professional. Riehl Structures has worked with customers across the West Chester and King of Prussia areas on challenging sites and can recommend solutions that fit your situation.
Leveling your yard properly takes a weekend, costs little, and prevents years of problems. Whether you’re building a simple gravel pad or preparing for a concrete foundation, the process is straightforward if you follow these steps. Take your time with compaction, verify your grade with a level, and confirm local requirements before you start. When your shed sits on a properly prepared, level foundation, it performs as designed and lasts for decades. If you’re planning a shed installation and want guidance on site preparation, Riehl Structures offers free consultations and can help you understand what your specific site needs. Get a quote now and let us handle the details, from site assessment to delivery and installation within 30 miles of our West Chester and King of Prussia locations.
Frequently Asked Questions
Q: Do I need a permit for a shed foundation in Chester County?
A: Permit requirements vary by municipality in Chester County. Most townships require permits for structures over 100 square feet or when a permanent foundation is involved. Contact your local township office to confirm requirements before beginning work. Riehl Structures can provide guidance on local regulations and help ensure your shed meets all requirements in your area.
Q: What is the best material for a shed base: gravel or concrete?
A: Gravel is the most common choice for shed bases because it's affordable, allows drainage, and is easier to install yourself. Concrete provides superior durability and a more permanent foundation but costs more and requires professional installation. For long-term durability with Amish-built structures, concrete or a gravel pad with proper compaction offers excellent protection.
Q: How do I know if my backyard is level enough for a shed?
A: Use a 4-foot level or a string line with a line level to check for slopes. Most sheds require the foundation to be level within 1 inch over 10 feet. If your yard slopes more than 1-2 inches across your planned shed location, you'll need to level it. A simple water level test can also reveal high and low spots without special equipment.
Q: How deep should a gravel shed pad be?
A: A properly built gravel shed pad should be 4-6 inches deep of compacted gravel over prepared soil. Lay landscape fabric first to prevent gravel from mixing with soil, then add gravel in 2-inch layers, compacting each layer. This depth provides adequate drainage and prevents settling while remaining cost-effective for most residential sheds.
This article was written using GrandRanker

Copy Link